How to Setup Smart DNS Service on PS 3 and PS 4?
How to Setup Smart DNS Service on Playstation 3 and Playstation 4?
Both the playstation3 (PS3) and the playstation4 (PS4) are able to be configured for the smart DNS service to watch the regionally restricted content from different regions of the globe. The procedure to configure the smart DNS service on both of the devices is almost same with a minor difference in visual outlook; therefore, this tutorial is applicable for both the devices.
If you already own a VPN Plan for more online privacy when visting sites like bestusenetprovider.net or other cool stuff, you can use it for your PS3 / PS4. Read more on VPN PS4, depending on your console version.
To configure the smart DNS service on PS3 and PS4 devices, take the following procedure.
- As prerequisites, get your PS3/PS4 installed and the internet connection up and running.
- Through your computer, research for the best provider of smart DNS service on the internet
- Register for suitable plan of smart DNS service, and note down the IP address of DNS servers provided by the DNS service provider.
- Type the http://www.ipnow.org/ in the browser on your computer and hit the Enter
- Your existing IP address appears; you need to note down this IP address for future use if required.
Now, you are supposed to configure the PS3 and PS4 for smart DNS service by changing the IP addresses of DNS servers. Take the following procedure to set up the smart DNS service on your PS3 or PS4 device.
- Choose the Settings icon on the screen through the controller. The list of different options on related to settings appears.

- Select the Network option by moving the selector to this option. The list of available options appears.
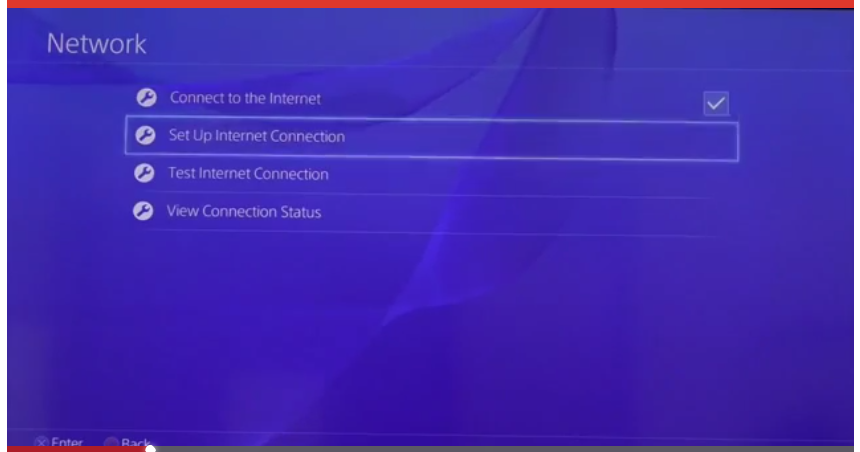
- Scroll down and choose the Setup Internet Connection More options of internet connection setup appear.
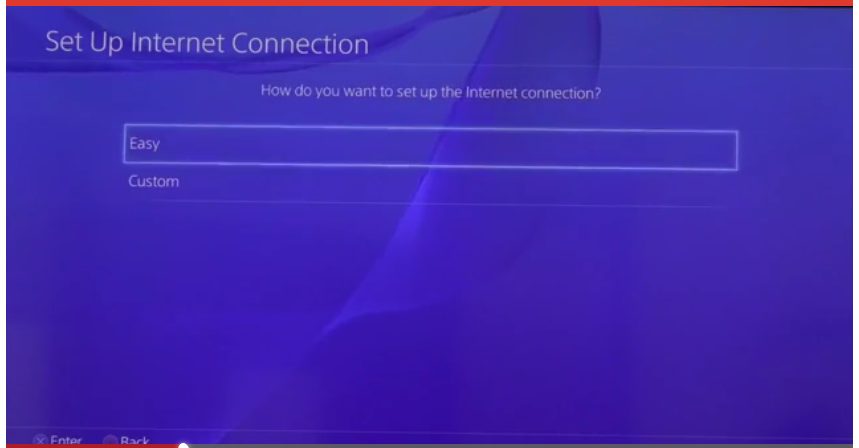
- Choose the Custom option with the help of PS4 controller. The options to connect to internet – Use Wi-Fi and Use LAN Cable – appear.

- Choose the desired internet setup connection type. In our example, it is Wi-Fi option. The details of available wireless connections appear.
- Choose the desired connection that you want to setup. Authentication window appears.
- Enter the network password to confirm. The DHCP Host Name page appears.

- Choose the Do Not Specify And, keep the DNS Settings and MTU Settings options on Automatic option in next two screens.
- In the Proxy Server setting page, choose the Use option. The Proxy Server address fields – Address and Port Number – appear.
- Enter the proxy server IP address provided by your smart DNS service provider in the Address field and the port number in the Port Number The default port number is 6588.

- Click the Next button, once you are done with the said configurations.
- The test configuration is implemented and the test of the connection starts to verify your settings.
- You would be prompted to choose the Save option for saving the changes.
Important Notes:
- Make sure that you have already updated your existing IP address of your router in the smart DNS server database.
- You can also set both the primary as well as the secondary smart DNS servers by inserting the secondary IP address of the server.